Easy Cherry Cheesecake Recipe – Perfect Every Time
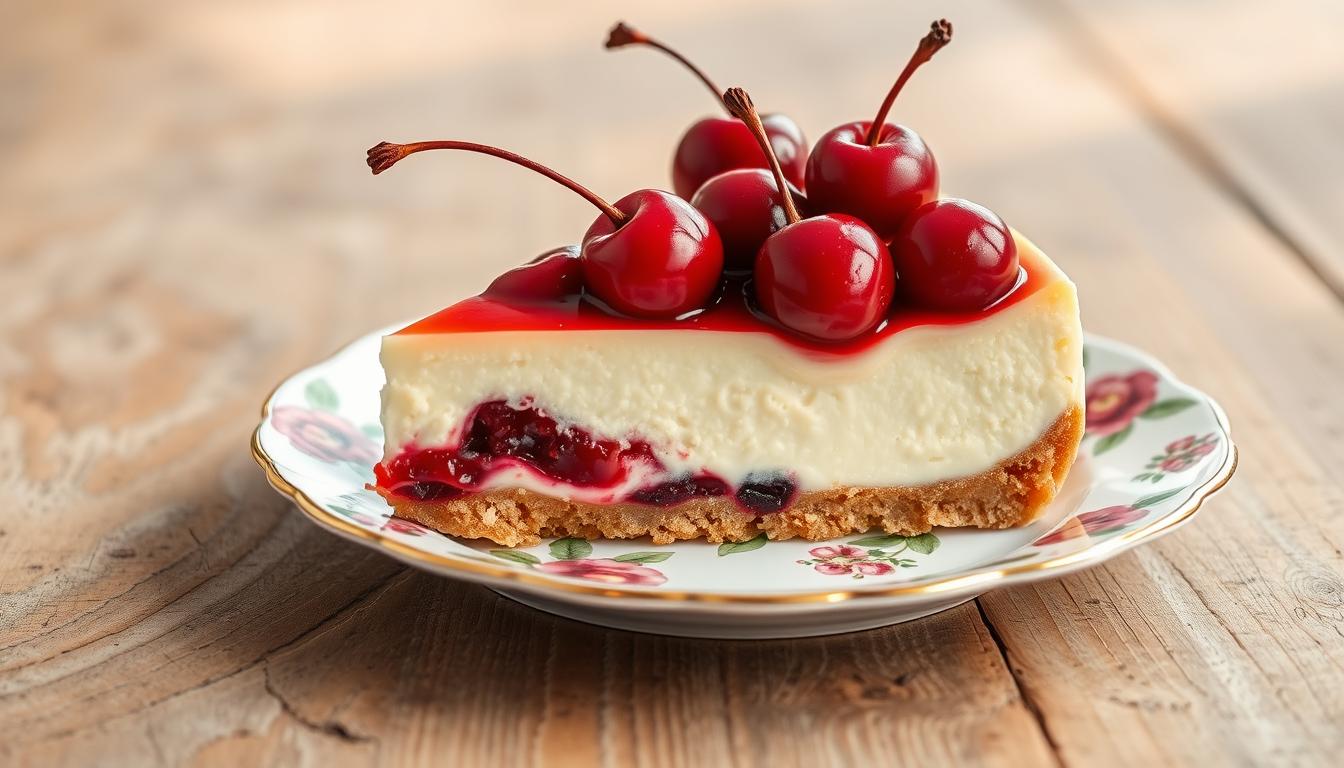
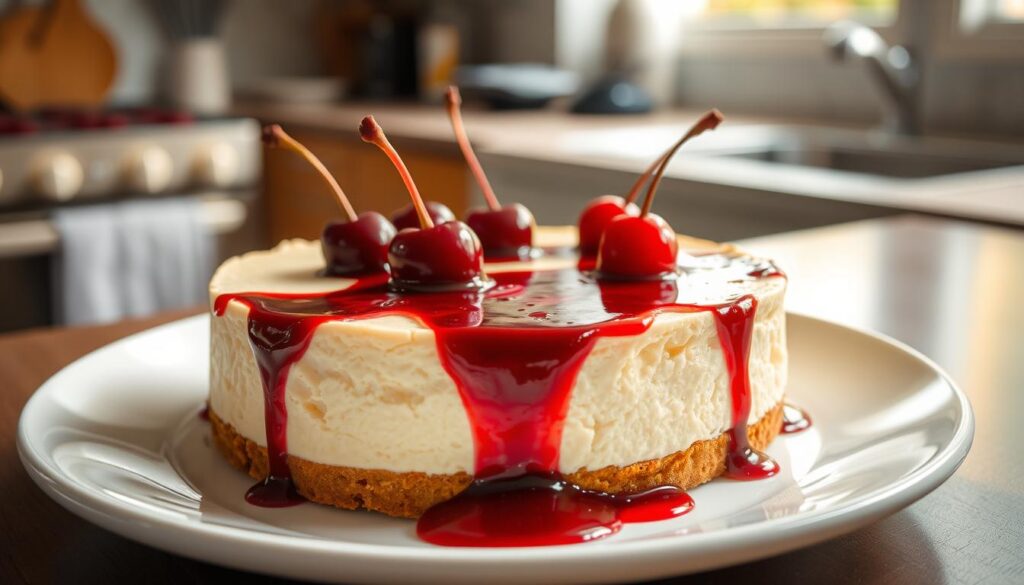
Indulge in the irresistible combination of a creamy cherry cheesecake with a buttery graham cracker crust. This easy-to-follow recipe guarantees a delectable dessert every time. It’s perfect for satisfying your sweet tooth or impressing your guests. Whether you’re a seasoned baker or a novice in the kitchen, this homemade dessert will become your go-to choice for any occasion.
Key Takeaways
- Discover a foolproof recipe for a delicious cherry cheesecake
- Learn the secrets to achieving the perfect balance of sweet and tangy flavors
- Understand the essential ingredients and kitchen tools needed for this creamy dessert
- Gain confidence in creating a flawless graham cracker crust and cheesecake filling
- Explore tips and tricks for baking, cooling, and serving your cherry cheesecake to perfection
Why This Cherry Cheesecake Will Become Your Go-To Dessert
Imagine a dessert that combines the smoothness of cheesecake with the tangy flavor of cherries. This cherry dessert will take your baking to the next level and wow your guests.
The Perfect Balance of Sweet and Tangy
The secret to this cheesecake baking masterpiece is the mix of creamy cheesecake and tart cherries. The cheesecake is sweet, but the cherries add a tangy touch. Every bite is a flavor explosion that makes you want more.
A Foolproof Recipe for Beginners
This cherry cheesecake recipe is perfect for both new and experienced bakers. It’s easy to follow and guarantees success. Even beginners can make a stunning dessert that everyone will love.
“This cherry cheesecake is the perfect balance of sweet and tangy, and it’s so easy to make. It’s become my go-to dessert for any occasion.”
Enjoy the creamy texture and the cherry flavor that will make this cherry dessert your favorite. Get ready to impress everyone with this foolproof recipe for the ultimate cherry cheesecake.
Essential Ingredients for Your Cherry Cheesecake Recipe
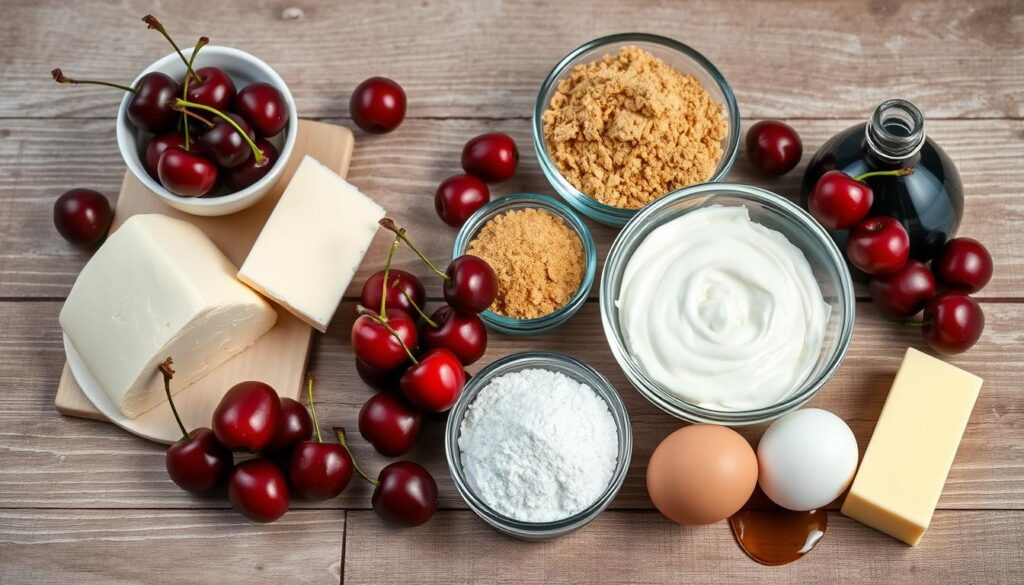
Making the perfect cherry cheesecake begins with the right ingredients. You’ll need a buttery graham cracker crust and a rich, creamy filling. Each part is key to the dessert’s flavor and texture. Let’s explore the must-haves for this tasty treat.
The Crust
The base of your cherry cheesecake is the graham cracker crust. You’ll need:
- Graham cracker crumbs
- Melted butter
- A pinch of sugar
The Filling
The creamy cheesecake filling is the main attraction. It calls for:
- Cream cheese, softened to room temperature
- Granulated sugar
- Eggs
- Sour cream or heavy cream
- Vanilla extract
The Cherry Topping
The cherry topping adds a delightful touch. It’s made with:
- Fresh or canned cherry pie filling
- A touch of lemon juice
- Cornstarch (for thickening, if needed)
Choosing top-notch cheesecake ingredients like cream cheese and graham cracker crust is crucial. This ensures your cherry cheesecake will wow everyone.
Kitchen Tools and Equipment You’ll Need
Making the perfect cherry cheesecake needs more than just ingredients. You’ll need the right baking tools and equipment for a flawless dessert. A springform pan and an electric mixer are key to achieving cheesecake perfection.
Must-Have Baking Tools
- Springform pan – This special pan with removable sides is a must-have for cheesecakes, allowing you to easily remove the cake without damaging its delicate structure.
- Mixing bowls – You’ll need a set of high-quality mixing bowls in various sizes to handle all the ingredients.
- Rubber spatula – For gently folding and mixing the batter, a sturdy rubber spatula is essential.
- Whisk – A good quality whisk helps aerate the batter and create a smooth, creamy texture.
- Measuring cups and spoons – Precise measurements are key to achieving the perfect cheesecake, so have a complete set of measuring tools on hand.
Optional but Helpful Equipment
While the essential tools above are a must, a few additional pieces of equipment can make the cheesecake-making process even easier:
- Electric mixer – Whether a stand mixer or a handheld model, an electric mixer will save you time and effort when whipping the batter to the perfect consistency.
- Food processor – For finely grinding graham crackers or other crust ingredients, a food processor can be a real time-saver.
- Parchment paper – Lining the springform pan with parchment paper helps ensure a seamless release of the cheesecake.
With these essential and optional baking tools at your disposal, you’ll be well on your way to creating a cherry cheesecake that’s sure to impress.
Making the Perfect Graham Cracker Crust
Making a great graham cracker crust is key to a tasty cherry cheesecake. This homemade crust adds a nice texture and flavor. It makes the cheesecake even better.
To make a graham cracker crust that will impress, just follow these steps:
- Gather your ingredients: 1 1/2 cups of finely crushed graham cracker crumbs, 5 tablespoons of unsalted butter (melted), and 2 tablespoons of granulated sugar.
- Preheat your oven to 350°F (175°C).
- In a medium-sized bowl, mix the graham cracker crumbs, melted butter, and sugar. Keep mixing until it looks like damp sand.
- Press the graham cracker crust mixture into a 9-inch springform pan. Make sure it’s even and goes up the sides.
- Bake the crust for 8-10 minutes. It should be lightly golden and smell great. Let it cool before adding the cheesecake base.
By following these steps, you’ll get a homemade crust that’s just right. It’s crisp and pairs well with the cheesecake’s creamy filling. Your guests will love this easy-to-make cherry cheesecake!
Creating the Creamy Cheesecake Filling
Making the perfect cheesecake filling is key to a great dessert. The secret to a creamy texture is blending the cream cheese mixture well. By controlling the temperature of your ingredients and mixing right, you get a smooth, velvety cheesecake filling that impresses everyone.
Achieving the Right Texture
For a luscious filling, start with room-temperature cream cheese. This makes it easy to mix with other ingredients for a silky feel. Make sure to beat the cream cheese mixture until it’s fluffy and lump-free.
Mixing Techniques for Smooth Results
- Use a stand mixer or hand mixer on medium-high speed to whip the cream cheese until it’s light and creamy, about 2-3 minutes.
- Gradually add in the sugar, eggs, and other wet ingredients, mixing well after each addition to prevent over-mixing.
- Scrape down the sides of the bowl frequently to ensure all the cheesecake filling ingredients are fully incorporated.
- Avoid over-mixing, as this can incorporate too much air and lead to a cracked or dense texture.
By using these mixing tips, you’ll make a cheesecake filling that’s silky-smooth and delicious.
“The perfect cheesecake filling is the foundation for a truly indulgent dessert experience.”
Preparing the Cherry Topping
No cherry cheesecake is complete without a delicious cherry topping. You can choose between a classic fruit sauce or a homemade cherry compote. This step is key to elevating your dessert. Let’s look at the options and techniques for the perfect cherry topping.
Fresh vs. Frozen Cherries
Choosing between fresh or frozen cherries is up to you. Fresh cherries offer a brighter flavor. Frozen cherries are convenient and easy to find. If using frozen, thaw them first for the right consistency.
Making the Cherry Compote
To make a homemade cherry compote, you’ll need:
- 2 cups pitted and halved cherries (fresh or frozen)
- 1/4 cup granulated sugar
- 2 tablespoons water
- 1 tablespoon cornstarch
- 1 teaspoon vanilla extract
In a saucepan, mix the cherries, sugar, and water. Heat until it simmers and cook for 10-15 minutes. Stir occasionally until the cherries soften and the sauce thickens. Add cornstarch and vanilla, then cook for 2-3 more minutes. Let the cherry compote cool before topping your cheesecake.
Canned Cherry Topping
For a quick option, use canned cherry topping or pie filling. Just drain the cherries and spoon the fruit sauce over your cheesecake. This is handy when time is short, but homemade compote tastes fresher.
Whether you pick a cherry topping method, cool it completely before adding it to your cheesecake. This ensures a perfect mix of sweet and tangy flavors in every bite.
Step-by-Step Baking Instructions
Baking the perfect cherry cheesecake requires precision and attention to detail. Each step, from oven temperature to the water bath method, is crucial. They ensure your dessert is rich, creamy, and without cracks or overbrowning.
Temperature and Timing Guidelines
Preheat your oven to 325°F (165°C). This temperature is essential for a smooth, creamy texture. Bake the cheesecake for 55-65 minutes, until the center is almost set. The edges should be slightly puffed, and the center should still jiggle when you shake the pan.
Water Bath Method Tips
- Wrap the springform pan in a double layer of heavy-duty aluminum foil. Make sure no water can seep in.
- Place the wrapped pan in a large roasting pan. Pour hot water into the roasting pan, up to halfway of the springform pan’s sides.
- The water bath method helps control the oven temperature. It prevents the edges from overcooking and ensures even baking in the center.
By following these steps, you’ll bake a cheesecake that will impress everyone.
Cooling and Setting Tips for Best Results
To get the perfect cheesecake texture, focus on cooling and setting. After baking your cherry cheesecake, cool and refrigerate it right. This ensures it sets up and gets creamy.
First, let’s talk about cheesecake cooling. After baking, turn off the oven and crack the door. This lets the cheesecake cool slowly for about 1 hour. This step helps avoid cracks.
- Next, move the cheesecake to a wire rack. Let it cool at room temperature for 2-3 hours.
- Once it’s room temperature, cover it with plastic wrap. Refrigerate for at least 4 hours, or better, overnight.
The setting time is key for the perfect cheesecake cooling and texture. In the fridge, it will firm up and flavors will mix. This makes a dense, creamy dessert.
| Step | Time | Purpose |
|---|---|---|
| Oven Cooling | 1 hour | Prevent cracking |
| Room Temperature Cooling | 2-3 hours | Allow cheesecake to reach room temperature |
| Refrigeration | 4 hours or overnight | Firm up the texture and meld the flavors |
By following these cheesecake cooling and setting time tips, you’ll get a creamy, luscious cherry cheesecake. It’s sure to wow your guests.
Storage and Serving Recommendations
After baking your cherry cheesecake, it’s key to store and serve it right. This keeps it fresh and full of flavor. Here are the top tips for storing and presenting your cheesecake.
Freezing and Thawing Guidelines
Cheesecake is perfect for freezing, lasting up to 2-3 months. First, let it cool and set completely. Then, wrap it in plastic or foil and put it in a freezer-safe container or bag.
To thaw, place it in the fridge overnight. Let it come to room temperature before you cut and serve it.
Presentation Ideas
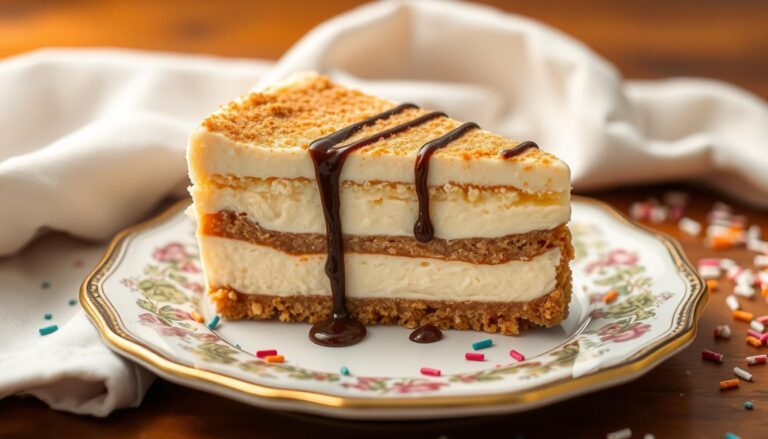
- Top the cheesecake with fresh cherries, powdered sugar, or chocolate sauce for a beautiful look.
- Cut the cheesecake into neat wedges and arrange them on a platter or plates.
- Pair the cheesecake with whipped cream or vanilla ice cream for a sweet treat.
- Decorate the plate with more fruit, mint, or flowers for a stunning presentation.
By following these tips, your homemade cherry cheesecake will stay fresh and delicious. It will impress everyone at your table.
Troubleshooting Common Issues
Baking the perfect cherry cheesecake can be a fun challenge. But sometimes, unexpected problems can pop up. Don’t worry, we’ve got you covered with solutions for common cheesecake problems, baking troubleshooting, and dessert fixes.
Cracked Surface
A cracked cheesecake can be a bummer. But it’s usually because of overbaking or sudden temperature changes. To avoid cracks, stick to the recipe’s baking time and temperature. Also, try baking in a water bath to keep things moist and even.
Soggy Crust
A soggy graham cracker crust is a problem. It’s often because of too much butter or not baking long enough. Make sure you’re using the right amount of butter. And consider baking the crust a bit before adding the filling.
Uneven Baking
Uneven baking can make your cheesecake lopsided or sunken. To fix this, make sure your oven is hot enough. Also, rotate the pan halfway through baking. A water bath can help with even cooking.
- Cracked Surface: Follow baking time and temperature guidelines, use a water bath.
- Soggy Crust: Adjust the crust-to-butter ratio, pre-bake the crust.
- Uneven Baking: Preheat oven thoroughly, rotate pan during baking, use a water bath.
By tackling these common baking troubleshooting issues, you’ll be on your way to making amazing cherry cheesecakes. With a bit of practice and attention to detail, you’ll be a pro in no time.
Conclusion
This homemade cherry cheesecake recipe is a true delight. It’s easy to make and has a perfect mix of sweet and tangy flavors. It’s great for any occasion, whether you’re an experienced baker or just starting out.
With the right tools and simple ingredients, you can make a professional-quality cheesecake. Just follow the temperature and timing tips. Also, remember to cool and set the cheesecake correctly for success every time.
So, what are you waiting for? Get your ingredients ready, preheat your oven, and start baking! Your homemade cherry cheesecake is just a few steps away. Enjoy the creamy delight and feel proud of your baking success.

